
Week 8

Week 8 Description:
Week 8
Embedded Programming
Assignment:
Read a microcontroller datasheet
Program your board to do something, with as many different programming languages and environments
Embedded Programming:
A computer system with a dedicated function within a larger mechanical or electrical system, open with real time computing constraints. It is embedded as part of a complete device often including hardware and mechanical parts.
Arduino:
Board + C libraries + IDE + Bootloader + Header
Microprocessor:
Computer chip needs others to work
Microcontroller:
Has everything included – what we are using
Read Microcontroller Datasheet:
I ended up printing off the 286 pages to make a book in order to read at my own pace and take notes/highlight things that I need to remember and look back at. I did not understand much of the datasheet as there was a lot of jargon. I went back and re-read the first 20 pages quite a few times in order to understand some of the language that was being used throughout the rest of the data sheet. All in all thought I think I learned a few things about timer, controllers, and resets that I will need to use in my final project.
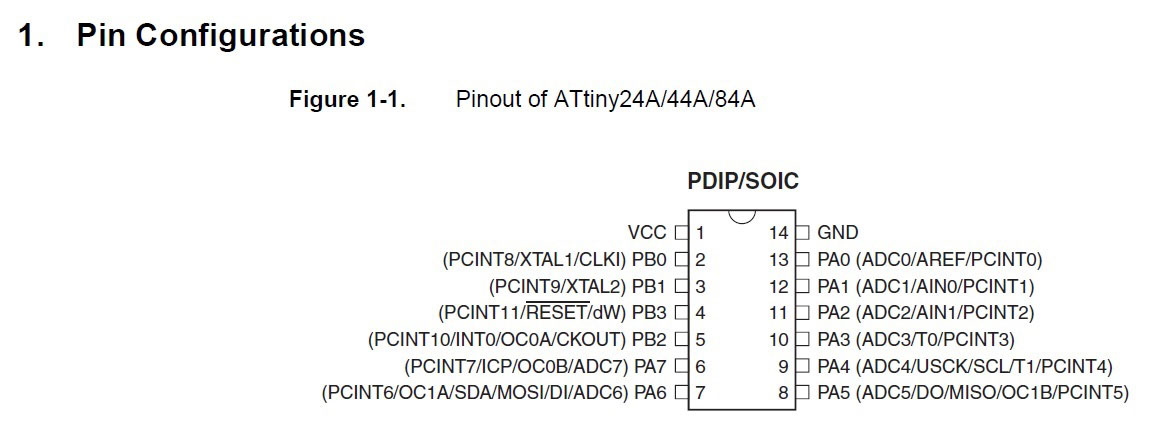
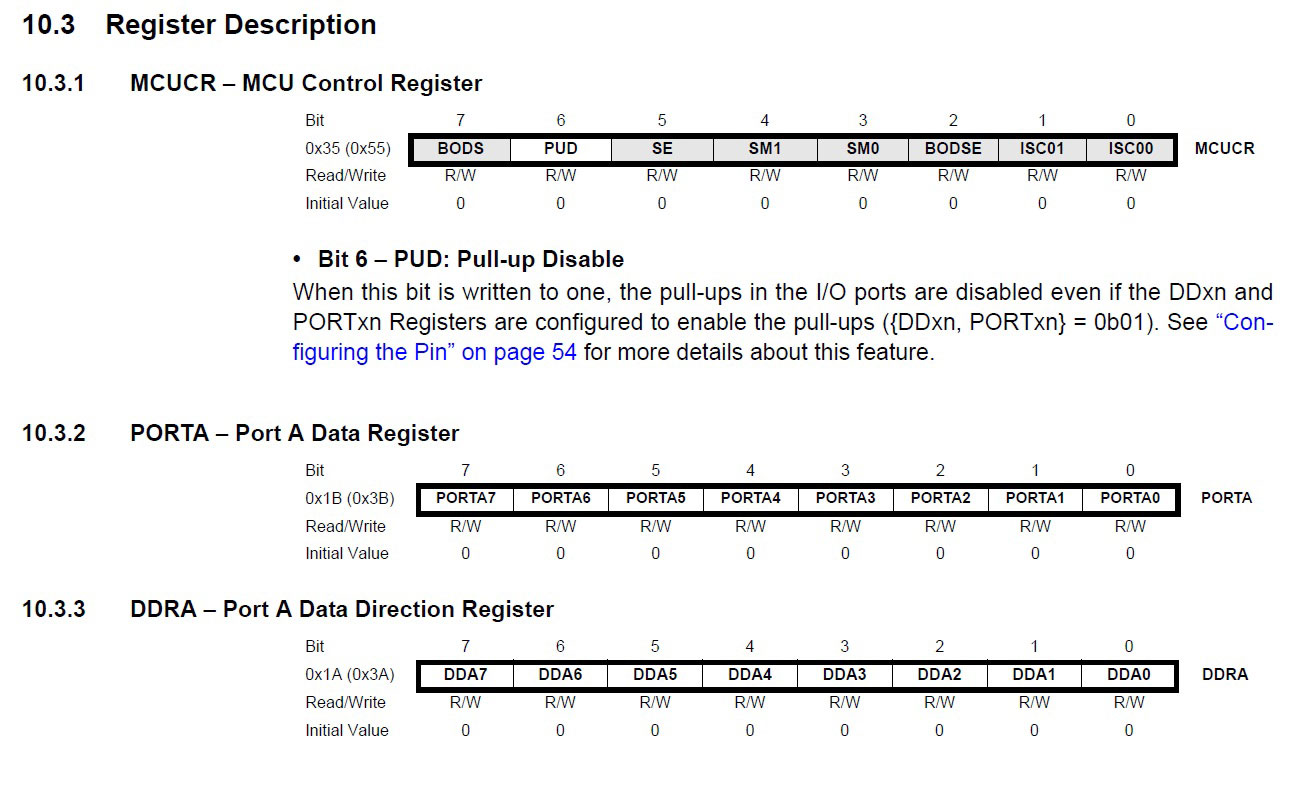
While working on the programming and my C code I needed to use the following carts to identify which pins my button and LED were on and also the flow that they were connected to.
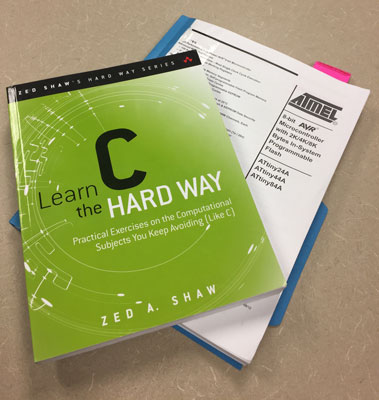
I also purchased a copy of Learning C The Hardway so that I could write my own notes in it aswell.
Programming you board:
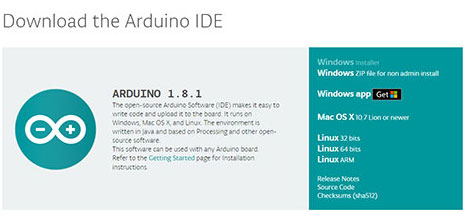
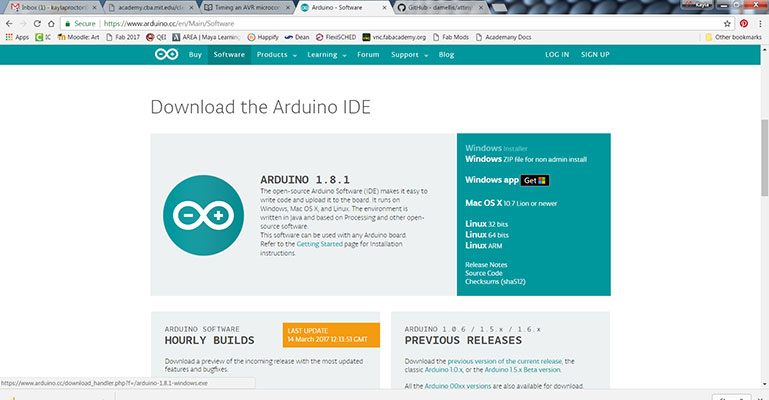
Download Arduino for Windows
https://www.arduino.cc/en/Main/Software
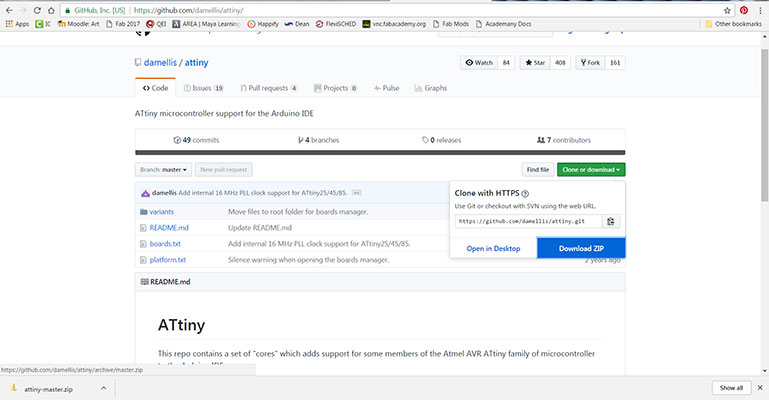
Then down load zip attiny master from support link, unzip the file
https://github.com/damellis/attiny
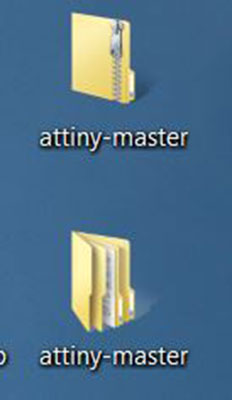
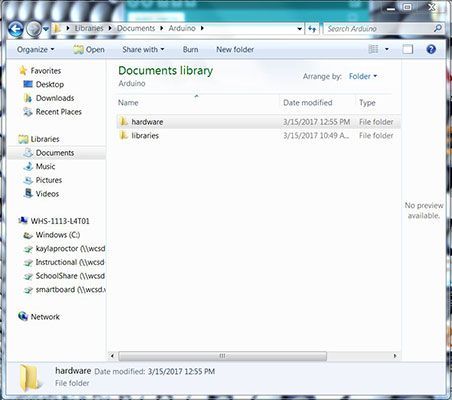
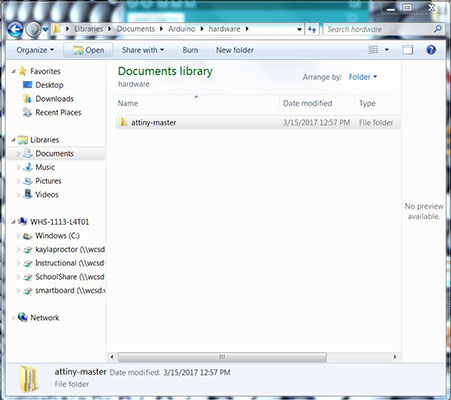
Go to our Documents folder on your desktop and find the Arduino folder. Create a hardware folder inside the Arduino folder and then paste the unzipped attiny-master inside the hardware folder.
Close Arduino
Reopen Arduino
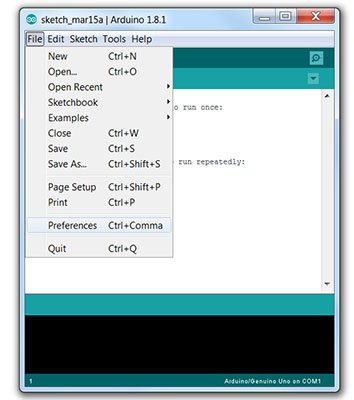
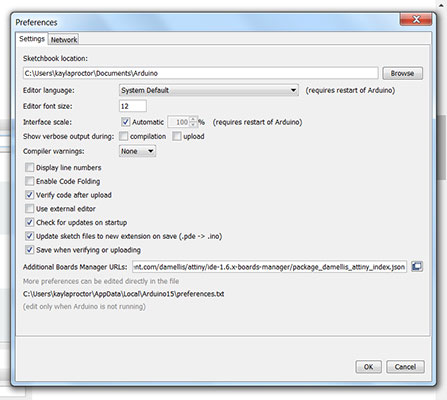
Go to File – Preferences – Paste link from below into “Additional boards manager Urls” – Then click ok
https://raw.githubusercontent.com/damellis/attiny/ide-1.6.x-boards-manager/package_damellis_attiny_index.json
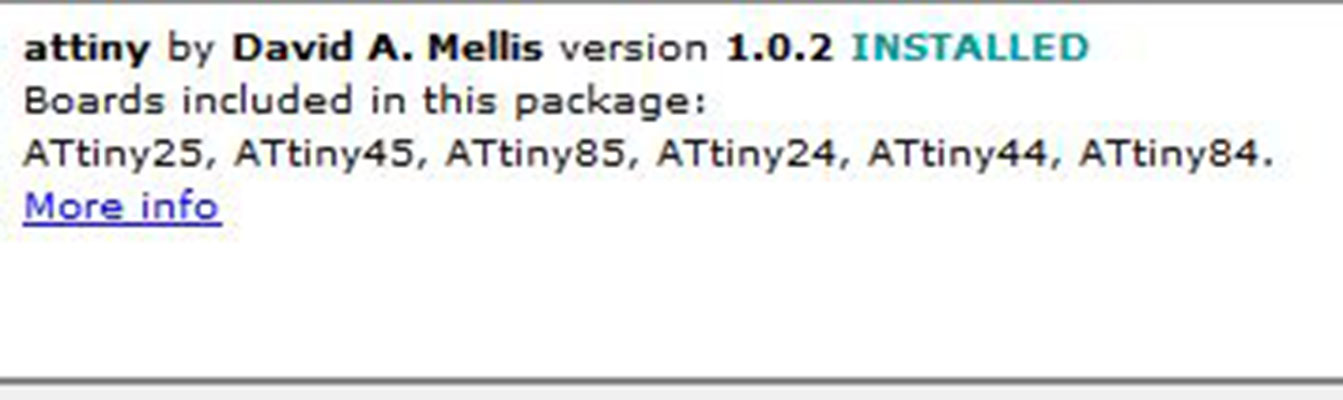
Go to Tools – Board menu – ATtiny 24/44/84 – In the window that comes up scroll to the bottom of the list – Find ATtiny – Click install buttons
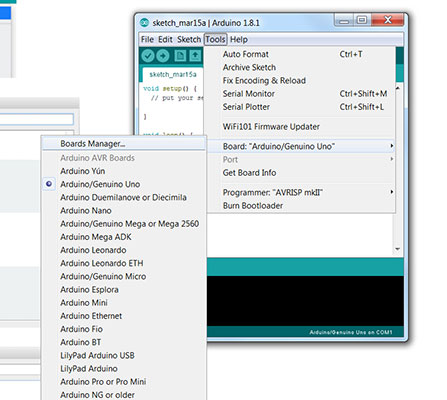
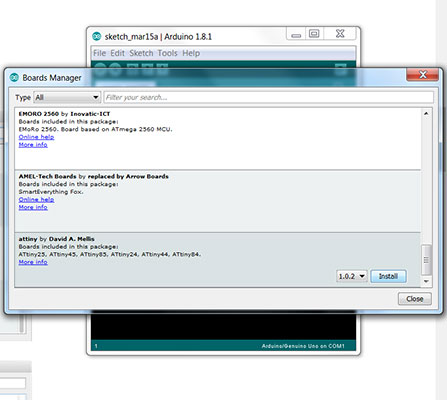
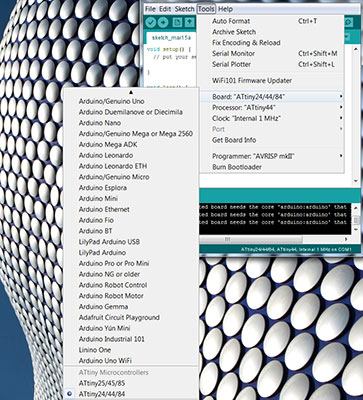
Then go back to the Tools menu – Board menu – and choose the ATtiny 24/44/84

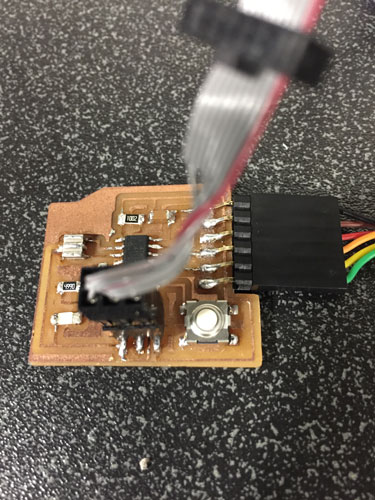
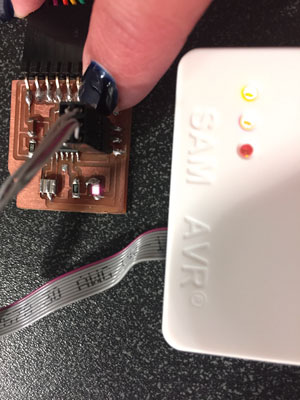
Connecting the pieces: Connect the programmer to the ISP header on the board with the header (6 pin) to PCB. Then power the board – USB to header (6 pin sideways) using and FTDI cable
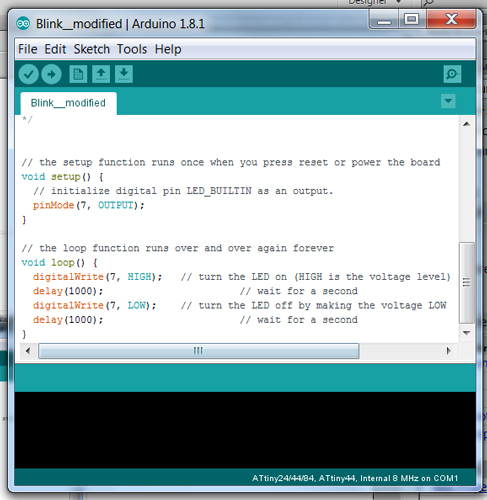
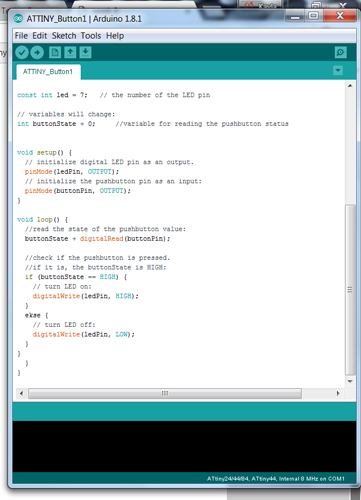
In Arduino open the Blink file – File – Examples – Basics – Blink. You can see the changes I made below.
Programming my Hello World Board:
Linux-Through our IT department we got a computer set up that would run only the Linux Operating System with Ubuntu on it. This was a complete learning curve for me as I have used Mac’s and PC’s with Windows mostly through the years.
Once Linux was loaded and operating I did MANY trial runs on the Hello World Board before getting some help. The good part about all the hours I spent on my own attempting to load the board I designed and created with the Atmel ICE debugger was that I learned a lot about C and how to use the terminal and commands. Things are starting to make more sense and when I did receive help to finally get my board loaded I understood the commands!
Before starting in the terminal make sure that you download the Make and C files for the hello.world.board.
http://academy.cba.mit.edu/classes/embedded_programming/hello.ftdi.44.echo.c
http://academy.cba.mit.edu/classes/embedded_programming/hello.ftdi.44.echo.interrupt.c.make
I placed them on my desktop.
Linux
- Open the Terminal (right click on the desktop)
- cd ~/Desktop/ (This opens the desktop directory in the terminal)
- ls (This will list files in the directory that is open so you can see what files are available)
- gedit make –f hello.ftdi.44.echo.c.make (Look at the file to make sure that your programmer is listed)
- My programmer is listed as atmelice_isp
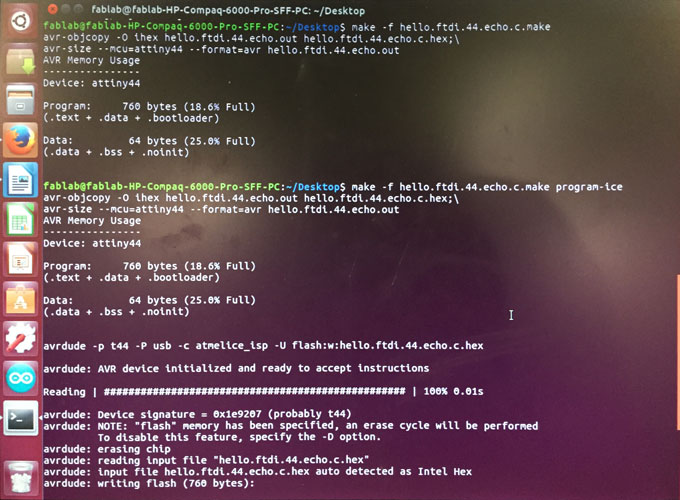
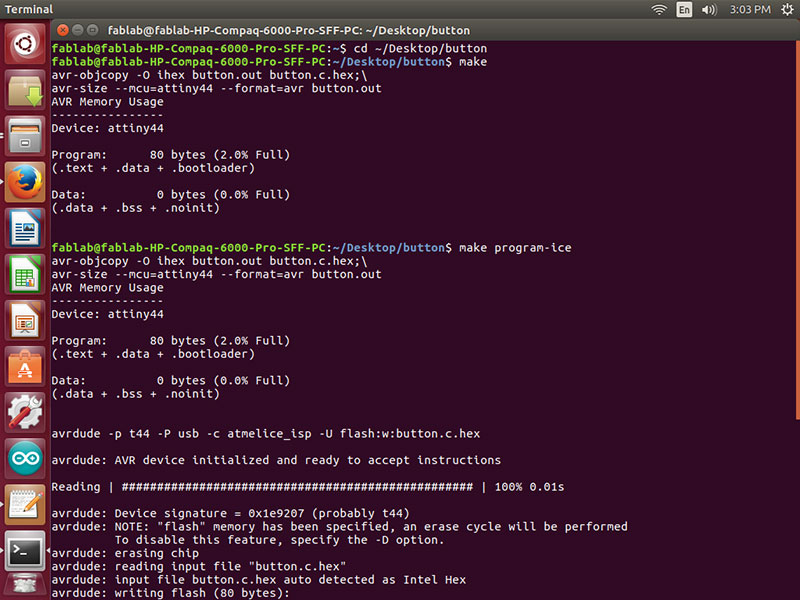
- make –f hello.ftdi.44.echo.c.make (This will run and complete the avrdude: avrdude done. Thank you.)
- make –f hello.ftdi.44.echo.c.make program-ice
- If you need to reuse a command just add or change something you can use the up arrow on your keyboard in the command line to see past lines
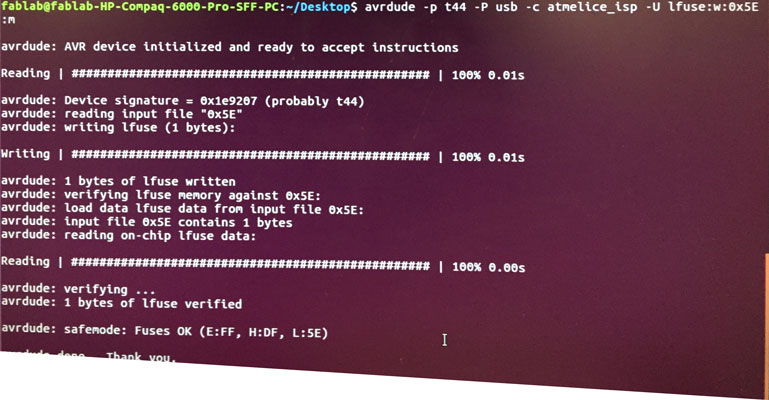
- avrdude -p t44 -P usb -c atmelice_isp -U lfuse:w:0x5E:m (this was given to me because something was missing in the files available)
- If at any point your terminal gets to many lines on it you can type clear to empty it.
- Now my AVR device is initialized and ready to accept instructions.

After the board is flashed I followed THIS VIDEO to work with the MODS and get the hello.world.board to echo back!
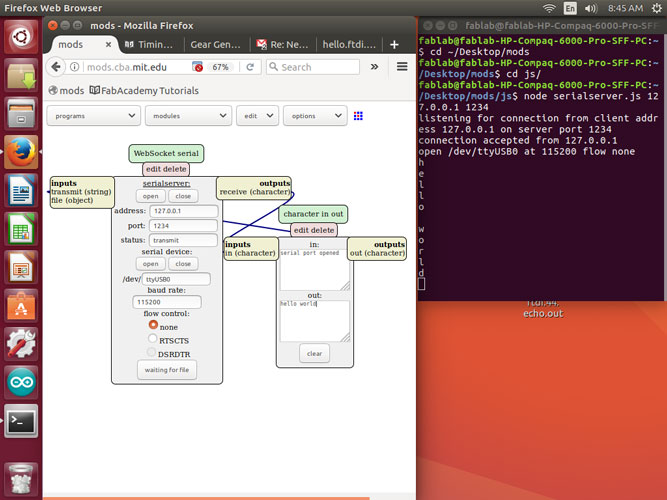
This was a HUGE win for me. After all of my troubles and tries I was so excited to get the board to echo back :)
Modifying C to blink and use the button:
I used seperate files to do this. As you can see I have added the files below and here are the screen shots of the terminal where I flashed the boards with the c code.
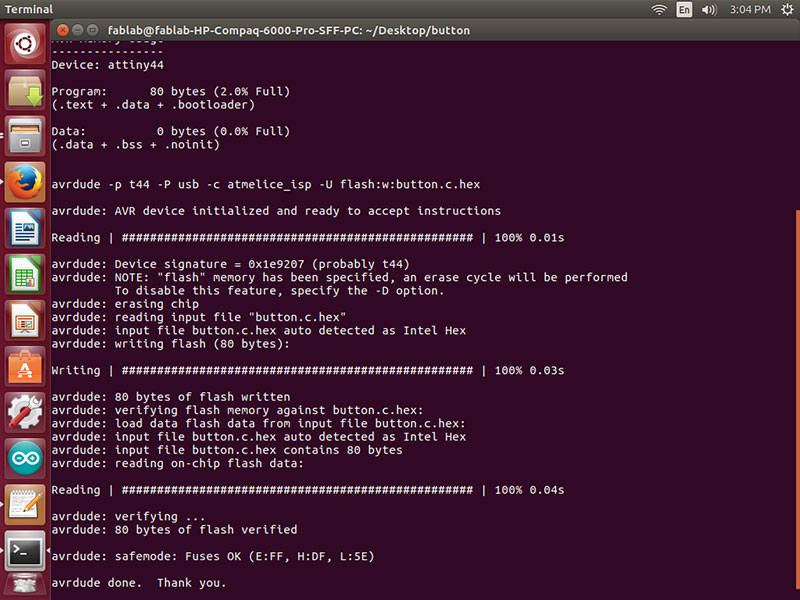
I then went to work on more programming. I used the same steps as above but with just different code. I tried 3 different things.
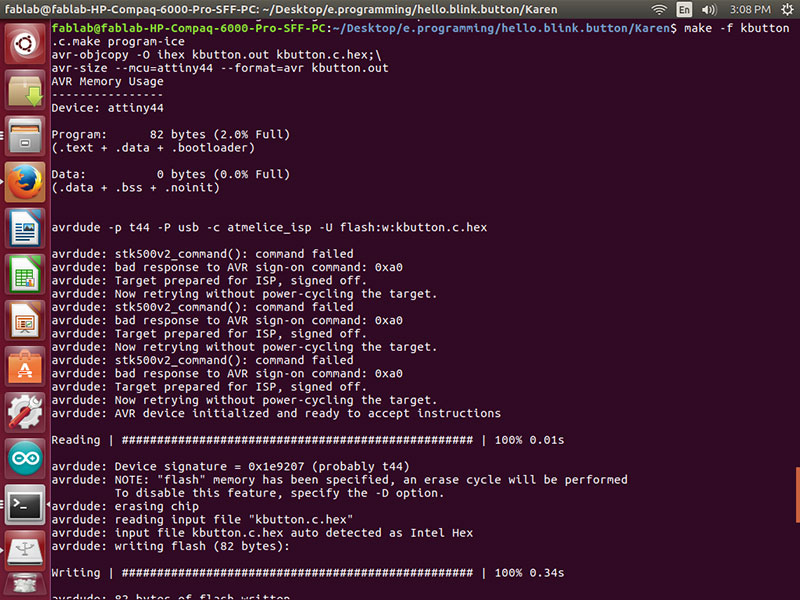
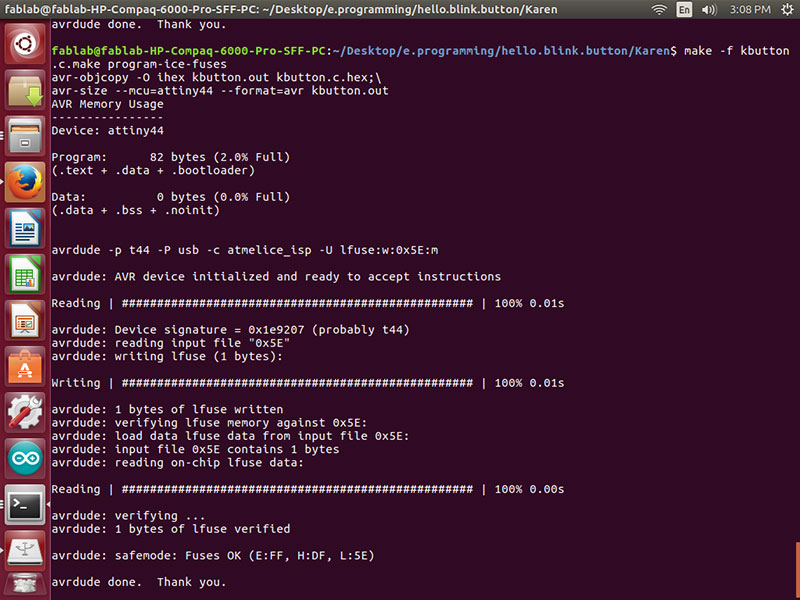
kbutton.c.make

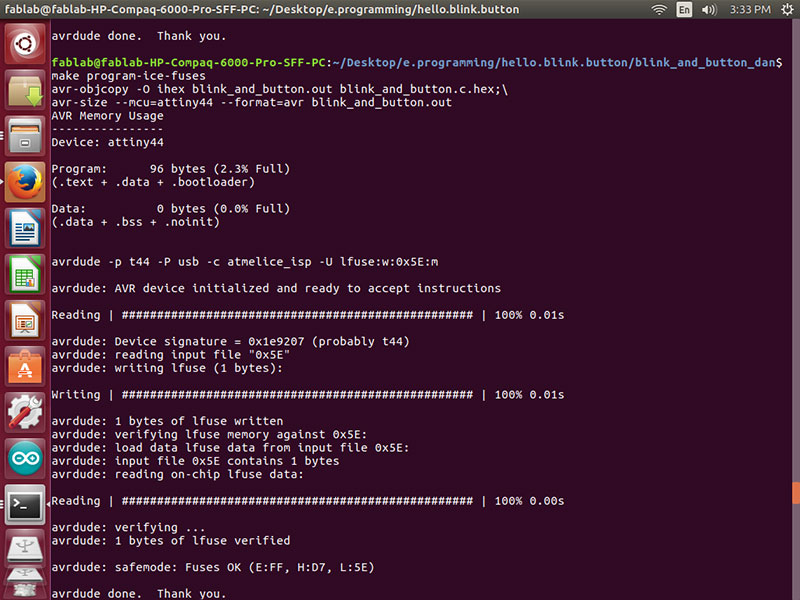
blink_and_button.c
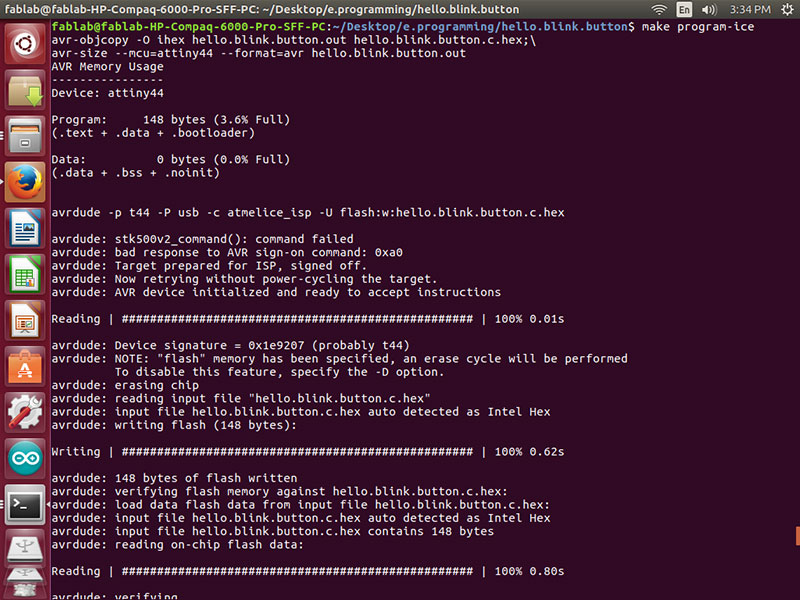
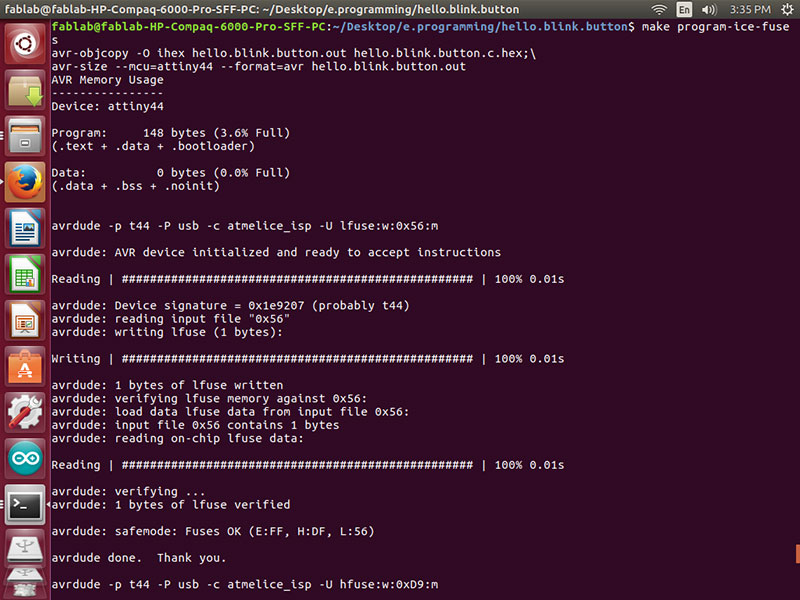
hello.blink.button.c
Week 8 Photos